How to Drill Porcelain Tiles: 5 Step Guide
In this article we will be sharing:
- Our five step-by-step guide on how to drill tiles
- Video comparison of drill bits used to drill porcelain tiles
- Related articles
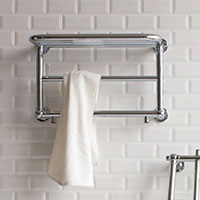
Whether you’re a professional bathroom installer, or a keen DIYer putting a new towel rail on the wall, knowing how to drill porcelain tiles is a challenge you’ll come across at some point. If you’ve just finished freshly tiling your bathroom or kitchen, the next job is to hang new bathroom or kitchen hardware. The last thing you want to do is to damage or crack a tile, or inaccurately drill a hole that doesn’t line up with the hardware properly. Another major factor these days, with very hard vitrified porcelain tiles becoming more and more popular, is to select a drill bit that will actually drill through the tile successfully.
In this blog we will provide an insight into how to drill porcelain and other types of tiles, successfully and accurately drilling a neat hole in all types of floor and wall tiles, without causing damage.
Follow the five rules below for a step by step guide on how to drill tiles
- Slow and steady wins the race.
- Ensure the drill bit is not worn-out or blunt.
- Never apply too much pressure; let the drill bit do the work.
- Never use a percussion or hammer action drill – plain rotary only.
- Use a guide or template for ultimate accuracy.
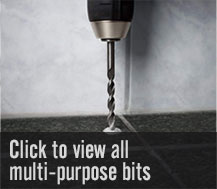
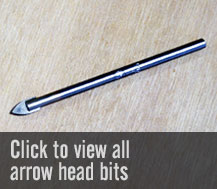
Using the correct type of drill bit is an obvious requirement; there are three main types to choose from: arrow head, multi-purpose or diamond drill bits.
Arrow head and multi-purpose drill bits are a great ‘lower-cost’ option if you are only drilling softer tiles. Comparing the two; there’s very little difference in terms of performance. For one-off jobs I’d recommend the multi-purpose drill bit, as once the task is completed, you can use the drill bit on a wide range of other materials at a later date. Multi-purpose drill bits will also perform well in brick, block, wood, plastics and even sheet steel – whereas arrow head bits can only be used on tiles and glass. For really tough tiles, there is really only one option – diamond. The video below shows a comparison between the three options, drilling a 6mm diameter hole through a vitrified porcelain tile.
Video comparison of drill bits used to drill porcelain tiles
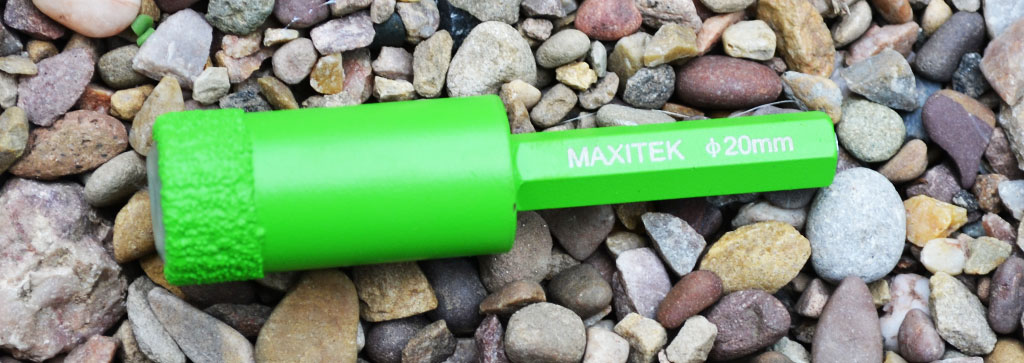
If you look closely at the two drill bits that failed to complete the task, bluing has occurred due to significant heat build-up. The operator could have continued drilling for many more minutes or even hours, and the task would never have been completed. Keeping the drill tip cool is vitally important, but how is this done? The use of water is an obvious solution but keeping a vertical area wet is not straightforward. You could try having a bowl of cold water to dip the bit into every so often, but this can be a real pain and also produces a ‘slurry’ that can stain the tile grout – not ideal! Reducing the drilling speeds helps contribute to minimising heat build-up, but the key to the impressive performance of the Maxitek Dry Diamond Drill Bit is not just the high concentration of very abrasive diamond particles, but also the innovative use of dry wax that fills the hollow centre of the drill bit. This wax is then dispersed during the drilling process, producing a dry lubricant and effective coolant, thus enabling the diamond bits to be used at greater drilling speeds. Maxitek Dry Diamond Drill Bits can not only be used for drilling ceramic and porcelain tiles, but are also effective in granite, marble and stone.
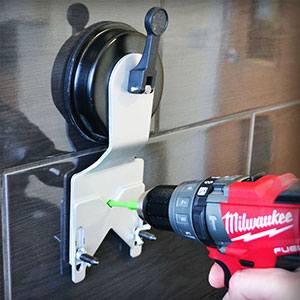
The final key area to cover is the accuracy of the hole. The last thing you want is fixture holes not lining up properly. An old trick to stop ‘wandering’ when using arrow head or multi-purpose drill bits, is to apply masking tape to the tile surface. This can solve the problem to a degree but doesn’t always eradicate misalignment. The perfect solution is to use a drilling guide; either a proper suction guide or simply make your own! If you drill tiles on a regular basis, it makes sense to invest in a proper suction drilling guide – they’re fairly inexpensive and will last for years. Alternatively make your own from an old off-cut of wood, but this does require extra care when holding firmly and accurately in place. You’ll see on the comparison video that the diamond drill bits can be used without a guide, by starting the drilling process at an angle and then straightened up to complete the hole. After plenty of practice this is certainly an option, but for optimum accuracy I’d always recommend the use of a guide.
Once you’ve completed the task of drilling a clean and accurate hole through your tile, the final point to consider is the use of an appropriate drill bit and fixing to complete the job in the substrate behind the tile. These are usually common building materials such as brick, block or plasterboard. Conventional plastic plugs or lightweight cavity fixings are generally used in most cases but be sure not to overtighten the fixing – another potential cause of damaging or cracking tiles.
To view our range of drill bits click here.
Related articles

Joint Managing Director, Protrade
Des has over 30 years of experience at Protrade, having worked in the capacity of Sales Co-ordinator, Account Manager, and product development, culminating in being appointed Joint Managing Director in 2018.